How to Apply a Pickleball Overgrip in 6 Easy Steps
Applying a pickleball grip is a lot easier than you might think! Having a new grip not only looks good, but it also feels better and helps improve technique while building more confidence in your hits. In this article, we will show how to apply an overgrip on your paddle.
Steps for Applying an Overgrip
- Getting Started
- Wrapping
- Marking End Point
- Marking Overlapping Point
- Trimming Excess
- Securing Grip
As you can see, applying an overgrip can be easy and done within 2-3 minutes. Let's get started!
What You Need
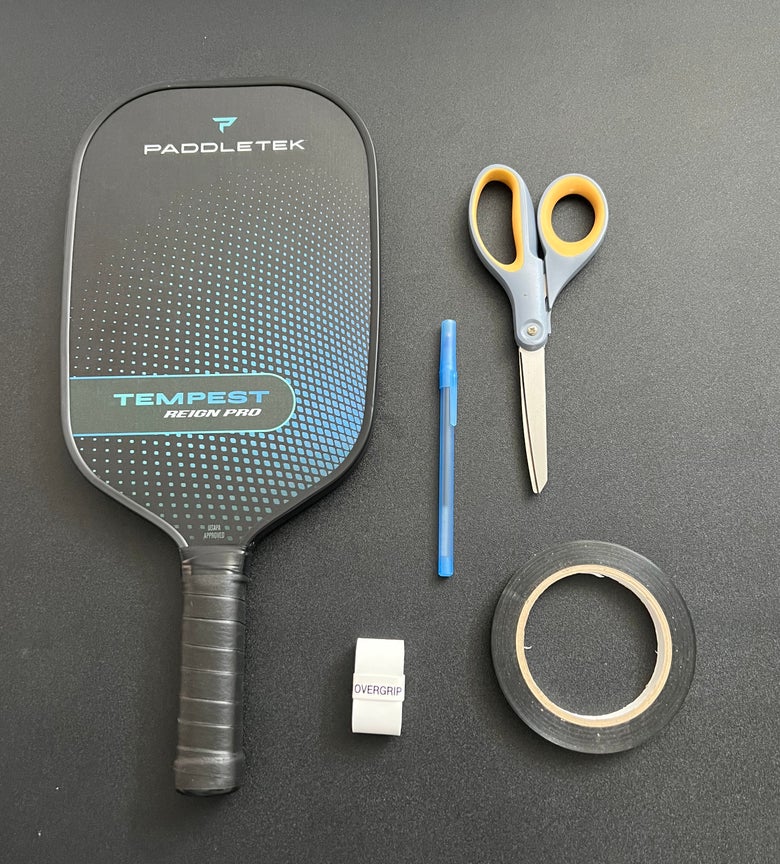
Everything you need to grip a pickleball paddle:
- Pickleball paddle
- Overgrip
- Scissors
- Finishing tape (included with grip/overgrip)
- Pen (optional)
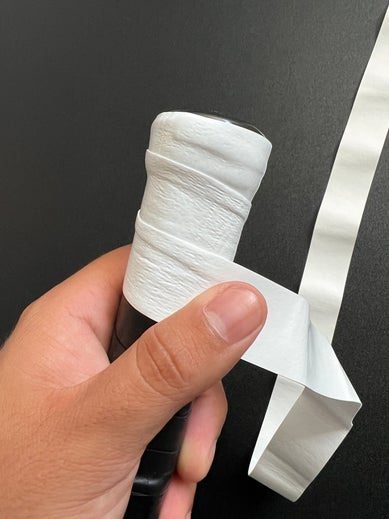
Step #1 - Getting Started
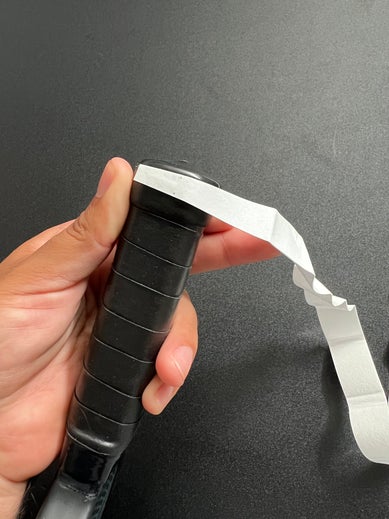
To begin, remove the plastic on the overgrip.
Once the plastic is removed, locate the tail of the overgrip, which is the tapered end. It may have a small piece of adhesive. This is going to be the end you use to start wrapping your grip.
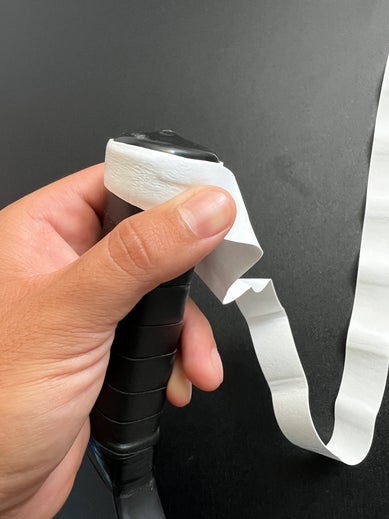
- Start by placing the tail on a bevel and fully wrap around the grip one time. Use a slight amount of tension as you grip so the overgrip doesn't wrinkle during application. (See photos)
*Note: paddle gripped is for a right handed player. For a left handed player starting point would be opposite, in which the original grip is wrapped.
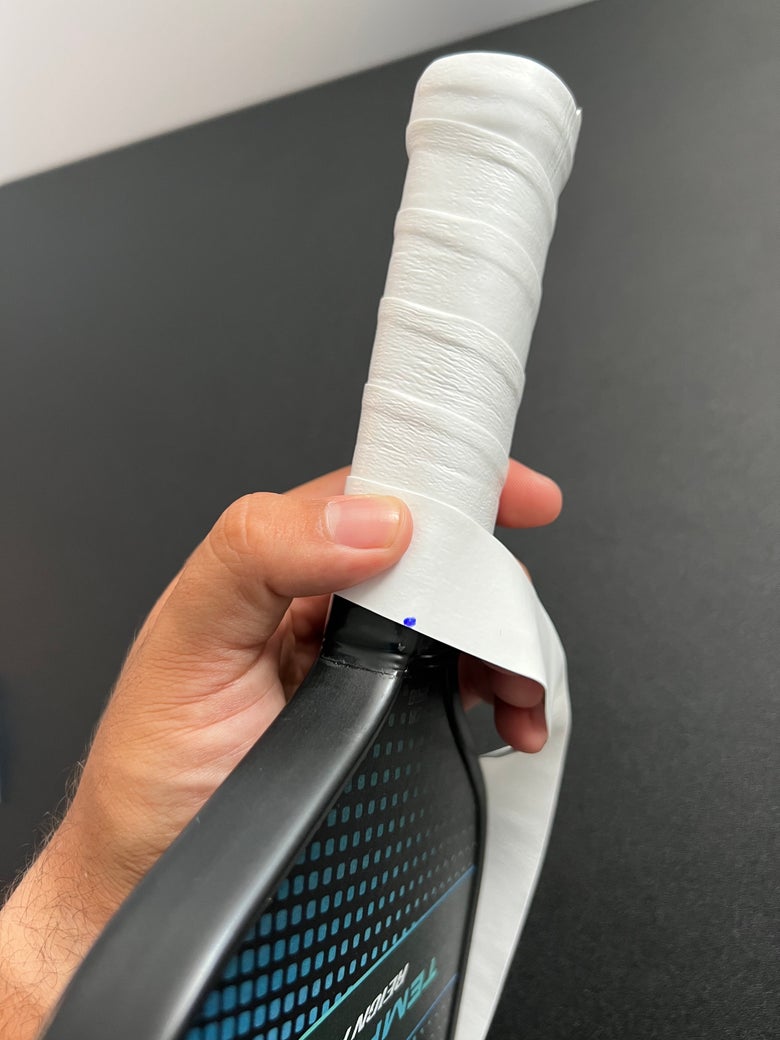
Step #2 - Wrapping
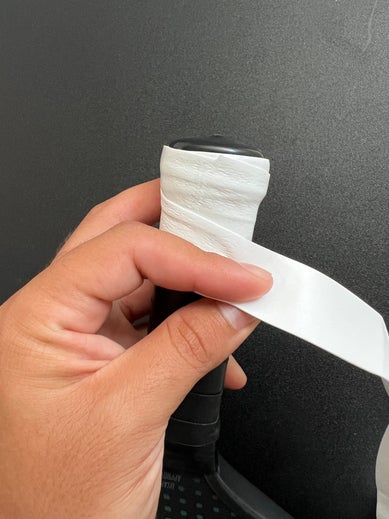
- Once you have wrapped the overgrip fully around the butt cap once, angle the grip downward about 30 to 45 degrees and continue to evenly wrap the overgrip around, keeping some overlap between layers. (See photos)
*The amount of overlap is personal preference and varies by player.
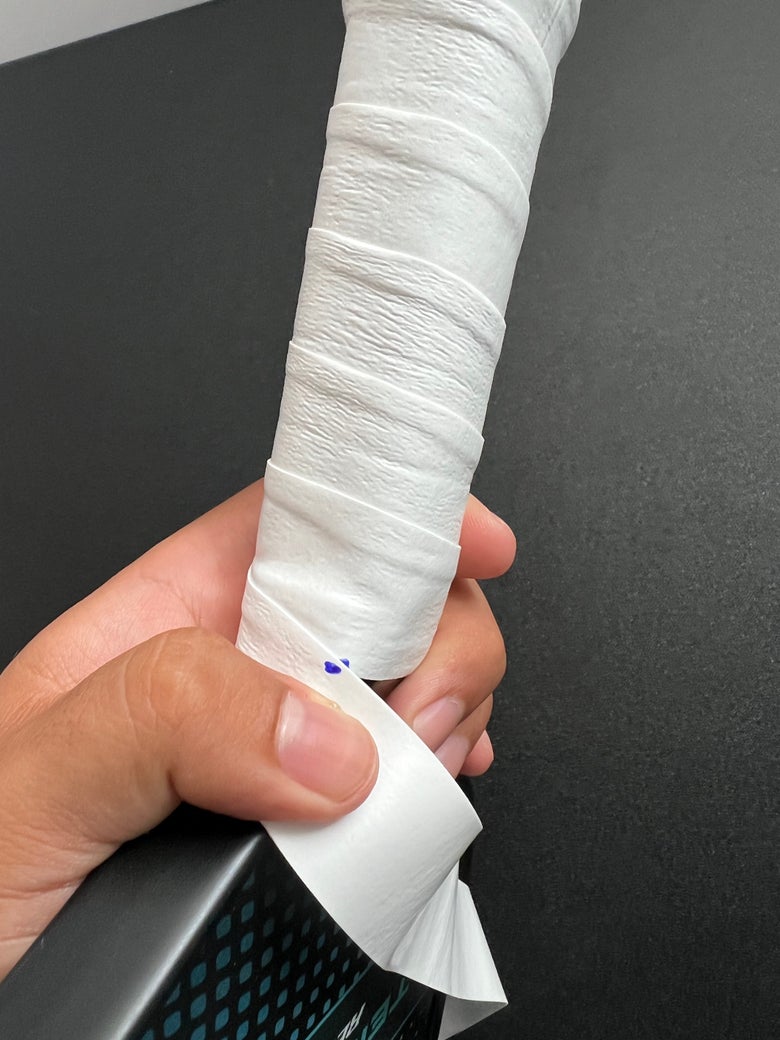
Step #3 - Marking End Point
- Once you get to the end of the grip, you'll notice you still have a lot of grip left. Some players choose to wrap this over and over and tape it off, but that may leave a bulge at the top of the grip. To have a clean, professional-looking overgrip, we are going to use scissors. What we want to do is make a tail like the beginning.
*To do this correctly, take your pen and mark a dot where the top of the overgrip meets the end of the paddle grip. (See photo)
Step #4 - Marking Overlapping Point
- Now, continue to wrap the overgrip until the bottom of the overgrip also meets the end of the paddle grip and mark a dot there. (See photo)
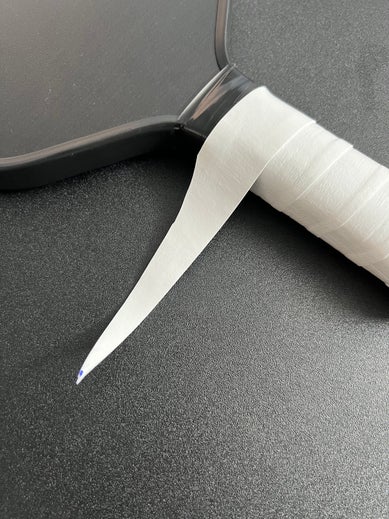
Step #5 - Trimming Excess
- Unravel the grip and draw a straight line between these two dots. Cut along this line with the scissors. (See photos)
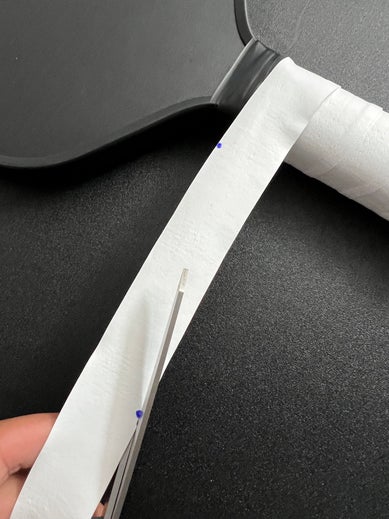
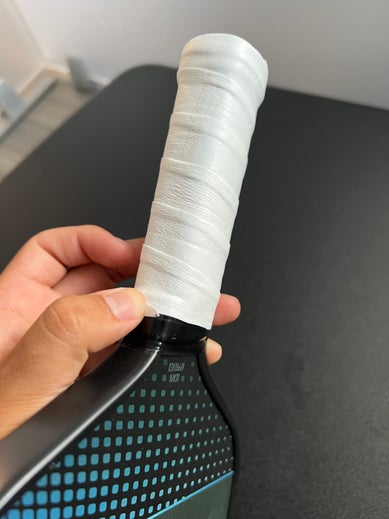
Step #6 - Securing Grip
- Finally, rewrap the portion you unraveled and apply the finishing tape to secure the overgrip to the paddle. (See photos)
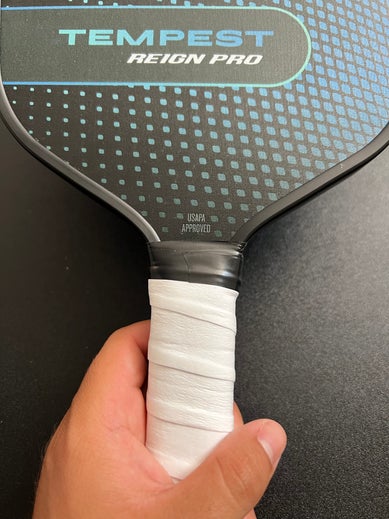
Congrats! You have now applied a Pickleball Overgrip like a pro. We recommend changing your overgrip once traction is lost. Durability will vary based on usage.
Paddle Grip FAQ
What is the difference between a replacement grip and overgrip?
A replacement grip is the base grip that is installed on every paddle. An overgrip is a grip that is placed over the base grip.
What does an overgrip do?
An overgrip is used to build the existing grip, add cushion, sweat absorption, and traction.